Last summer we bought a fire pit for the garden, and this year we've bought a pizza oven, so I'm anticipating plenty of warm, summer evenings sitting outside with food, drink and good company. Fingers crossed we have another lovely summer like last year!
To brighten up our patio during the evening, I've been making some tin can lanterns. They are easy to make, so I thought I'd share how I made them in case they inspire you to make something similar for your garden! All you need are some tin cans, a hammer and a nail.
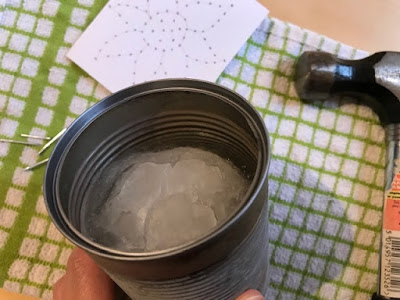
First, wash out the cans and remove any labels. Then fill almost to the top with water and freeze. This means that the can will keep its shape while you make the holes.
Then take a hammer and a nail, and bang the nail into the can where you would like the holes to be, removing it once you are done. You can mark out a design on the can with pen, tape a piece of paper to the can with your design that you can punch through, or just go for a random approach and cover the can with holes.
When the ice has melted, your lantern is ready to use, just pop in a tea light candle! I decided to decorate the rims of my cans with some beads. I made two holes at the back of the can, then I threaded coloured and glass beads onto a piece of wire, securing it firmly through the holes in the can. For my sunflower themed lantern I kept the colours to greens, yellows and oranges, and for the other cans I used bright and cheerful colours. Then the lanterns still look pretty, even when they aren't lit!
Here they are once dusk has fallen. They look so beautiful sparkling away in the dark. I'm going to be making lots more, and I can't wait for the warmer evenings when we can sit outside surrounded by them!
If you like these lanterns you might also like to see my festive Christmas lanterns.


No comments:
Post a Comment
I love reading your comments!