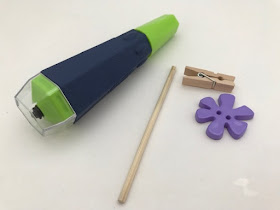
You need:
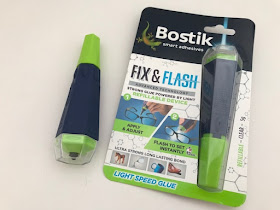
Bostik Fix & Flash glue
Mini wooden pegs
A wooden skewer
A large button or similar for the base
Acrylic paint (optional)
Instructions:
Assemble everything that you need. I cut down my skewer to a length of about 10cm and sanded the ends flat.
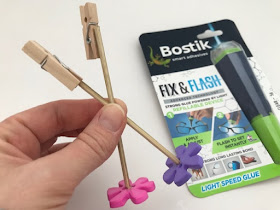
Use the Bostik Fix & Flash to glue the pieces together. Bostik Fix & Flash is a very strong glue that is activated using the LED light which is contained within the glue pen. First you need to apply the glue to one of the surfaces, then make sure that you are happy with the positioning of your items. Press the light on the bottom of the pen to turn it on, and direct it towards the glue for 10-15 seconds.
The glue will dry clear within seconds, creating an extremely strong bond between the surfaces.
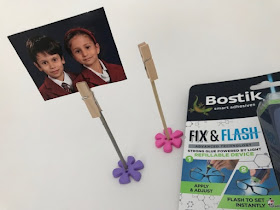
If you wish, you can use acrylic paints to paint the stick and peg. I used silver paint on one of my peg photo holders. Here they are, ready for display!
Bostik Fix & Flash will create a strong adhesive bond on all sorts of surfaces. I've also used it to repair plastic toys and a metal keyring and have been very impressed with how well it sticks.
Bostik Fix & Flash can be purchased in Hobbycraft.
This is a collaborative post in association with Bostik


No comments:
Post a Comment
I love reading your comments!