You need:
Small polystyrene Easter Eggs
Tissue paper - a selection of different shades looks good
Ribbon and thread in different colours
Sequins and other small embellisments
Bostik Fine and Wide Glu Pen
Bostik Glu Dots
Instructions:
Tear or cut your tissue paper into small pieces, about 1 cm square. Mix them up so that you have a selection of different shades to work with.
Coat the polystyrene eggs in glue using the Bostik Fine and Wide Glu Pen. This can be a little fiddly, I find that a good way to work is to use a skewer to make a hole in the top of the egg (you will need to do this later anyway for hanging) and then use a box or larger piece of polystyrene to support the egg while you decorate it.
Stick on the small pieces of tissue paper, making sure that all pieces lie flat and that the entire egg is covered. Leave to dry thoroughly. Don't use too much glue, and it's easier to pour some glue out into a jam jar lid or similar and apply with a brush so that you can smooth down all the edges. When the egg is completely coated with tissue paper, leave to dry thoroughly.
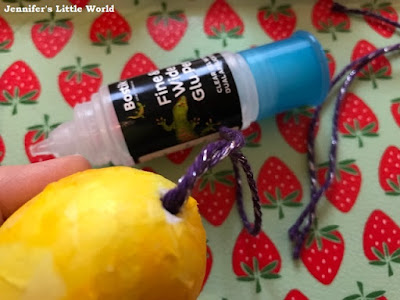
Make a hole in the top of the polystyrene egg and fill it with glue. Then cut a piece of coloured thread to use as a hanging loop. Push the ends of the thread into the hole, then add more glue so that the thread is completely secured. Leave to dry.
Then add other decorations to the egg. I made a circle around the middle of the eggs using ribbon. The Glu Dots are great for fixing ribbon and fabric as they are so sticky, and they held the ribbon firmly in place. For smaller sequins I used the Fine and Wide Glu Pen, and for the larger embellishments I used another Glu Dot. If you are finding it fiddly to apply the decorations you can use an egg cup to hold the egg in place and decorate half at a time.
When the eggs are dry you can hang them up to display!
The box of craft materials was provided to me free of charge by Bostik as part of the Tots100/Bostik Craft Bloggers Club.


No comments:
Post a Comment
I love reading your comments!