I'd been thinking of making a papier mache volcano with the children for some time now, and the summer holidays are the perfect opportunity for a long term craft project. It took us a couple of weeks to make our volcanoes, what with waiting for all the layers of paper mache and paint to dry, but the finished project is pretty cool and the perfect backdrop for Harry's dinosaur scenes!
You need:
A thick piece of cardboard for the base
A cardboard tube
Lots of newspaper
Lots of plain tissue paper
Glue (we used homemade flour glue - mix one part flour to five parts water and boil for three or four minutes until it's thickened, stirring continously, wait for it to cool before use)
Paint
Coloured tissue paper
How to make the volcano:
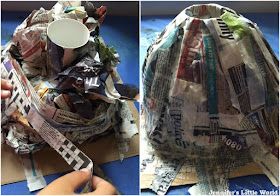
Begin by glueing a cardboard tube to the centre of a square of cardboard to form the middle of the volcano. Scrumple newspaper up into balls and use it to build up around the shape of the volcano. Using lots of glue, wrap strips of newspaper around your structure and mould with your fingers until you have a smooth shape. This step can be a little fiddly, and you might also want to use tape to secure your newspaper balls. Then leave to dry.
Then add a second layer of newspaper. This time use smaller squares of newspaper and think about where you can add some smaller scrumpled up balls of paper to build up the texture a little bit, especially around the base. Make sure that you use plenty of glue and smooth it all down with either a brush or fingers.
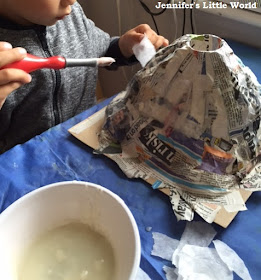
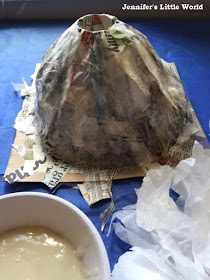
When the second layer of newspaper has dried you can move on to a couple of tissue paper layers. The tissue paper becomes softer with the glue on it, so you can mould it to fit any gaps. We also used it to make extra lumps and texture which we covered with more tissue paper. By the time our two layers of tissue paper had been completed our volcanoes were looking pretty good. I wanted to make sure that they were completely dry before we began paining, so I left them for a few days, outside in the sunshine when I could.
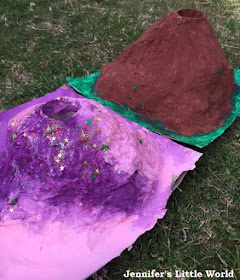
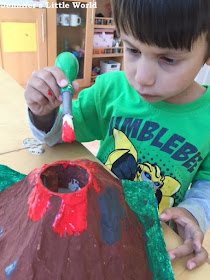
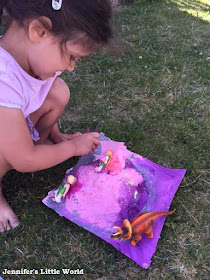
When the volcanoes were completely dry we began painting. We used bright poster paint, and I found that it covered really well. I had in mind that they would both make realistic looking volcano models, but Mia had other ideas, and I really liked her vision of a pink and purple 'fairy volcano' so I let her go along with it! Harry painted a base coat of brown with green around the base, and Mia went with a mixture of pink and purple, finished with a layer of glitter glue embedded with sequins.
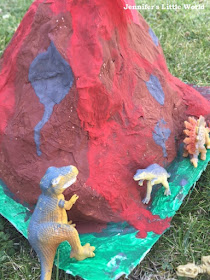
When the paint was dry they added another coat of paint for some more details. Mia mixed up some grey with glitter for the base of her volcano and Harry used grey to paint in some rocky areas and added plenty of red paint for lava running down the edges. It looks really effective where he put the paint on thickly so it could form a natural dribble down the sides. I think he did a great job, and he took it really seriously!
Finally, the volcanoes were finished with some coloured tissue paper. Because Harry's volcano already had lava flowing down the sides, we just used a ball of scrumpled up red paper to stick out of the top before taking it outside for some dinosaur play fun.
Mia chose pink tissue paper lava for her fairy volcano, and she decorated it with some of her Playmobil fairies, although she couldn't resist adding a dinosaur or two as well!
They are both so pleased with them, it was such fun making them together and I know that they are going to be well played with!



No comments:
Post a Comment
I love reading your comments!