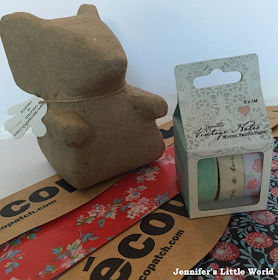
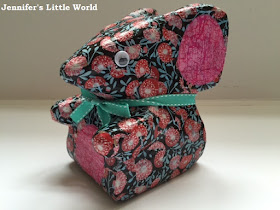
I love Decopatch, it's a very soothing craft and there are some really lovely different papers available. You first need to tear the beautiful paper up into little pieces, something that I wasn't keen to do at first but it really does work out well. Then you just glue it all over your moulded shape, overlapping the edges, and covering with plenty of glue. You use a stiff Decopatch brush to make sure that you are working the paper into all the corners. I've been using the branded Decopatch glue that I had as part of a set, but I believe that you can also use watered down PVA glue. It dries to a lovely and smooth glossy finish.
For his ears and tummy I cut out the shapes from some pink Decopatch paper that I had, using two layers to make sure that the pink colour stayed vibrant. Then I finished the mouse off with some googly eyes and a ribbon. I'll probably add some whiskers at some point when I've thought of a way to stick them on!
I do think that he looks a bit anxious. He's probably worried that I'm going to get carried away and Decopatch everything in sight. It is a bit of an addictive craft!


No comments:
Post a Comment
I love reading your comments!