You need:
Card - while you can use something like a cereal box, sturdier card is better
Scraps of red and pink tissue paper, coloured paper, napkins and so on. I very rarely buy tissue paper, I save it up when I receive it in packaging!
PVA glue and spreaders
Any embellishments you want to add, for example we used heart shaped buttons
Instructions:
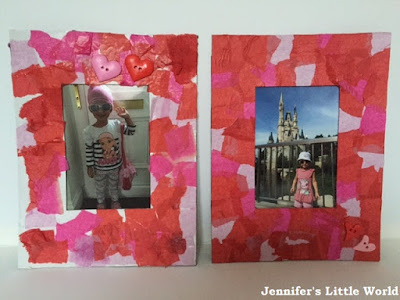
First prepare all your materials - I began by cutting my frames out of the cardboard. The frames are quite large compared to the size of the photograph, so there is plenty of room for collage and decorations. They measure about 20cm x 26cm. For the hole in the centre I placed my photograph on the back of the frame and drew around it, then cut the window out with a craft knife to make it slightly smaller.
Then I gathered a selection of red and pink tissue papers and tore them up into small squares. I laid everything out ready for Mia to get started.
We used plenty of white glue on the frames and stuck on the pieces of paper. I tried to cover the whole frame in a Decopatch fashion, and so Mia copied me, she did a really good job! When the glue was dry I folded over the larger pieces of paper and trimmed the edges to make them look neat.
The photographs are secured to the back of the frame using washi tape so they can be easily removed and changed. If you don't have washi tape, masking tape would work well too. They can then be hung with BluTak or you could thread some string through to hang from a nail.
We embellished the frames with a couple of heart shaped buttons each. Mia was so proud of her frame and there is no question of giving them away, she insists that they are going to be on display in her room! This activity made me realise that I don't often do crafty things just with Mia, we tend to wait until Harry is home as I don't want him to feel left out. But we had such fun together, that definitely needs to change!
You can find more Valentine's Day crafts for toddlers here - Valentine's Crafts for toddlers


No comments:
Post a Comment
I love reading your comments!