Materials
Wreath base - I used a 30 cm flat wire wreath ring
Wadding (I used about 1/2 m)
Selection of yarn in shades of green, crochet hook and needle
Decorations - I used a robin similar to this one
Ribbon or cord for hanging
Directions
First cut the wadding into strips about 4cm wide and wrap around the wreath base. Overlap the end of one strip with the beginning of the next one, and make sure that it isn't wrapped too loosely so that the wadding stretches to fit the shape of the ring. Secure the last end with a few stitches, and stitch down any other parts where the ends of the wadding have come loose to make sure that the wadding covers the ring evenly. You don't need to worry too much about how it looks as of course it will be covered by the crochet cover, but it's worth trying to make it as smooth and even as possible.
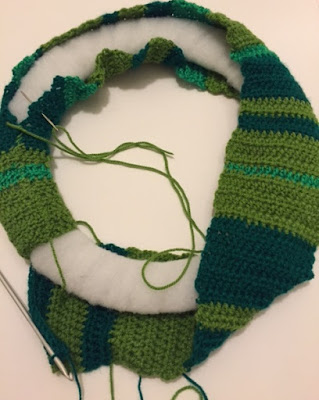
I used a half treble crochet stitch as it works up quickly and doesn't have too many holes in it. I was glad that I chose a quick stitch as I was quite surprised by how long my strip of crochet needed to be - although it was only 20 stitches across I needed to make it nearly a metre long. I'm still quite new to crochet so my strip wasn't the neatest, in particular the edges turned out a bit uneven as I've not quite got the hang of keeping the same number of stitches, but fortunately this didn't matter as the edges are completely hidden.
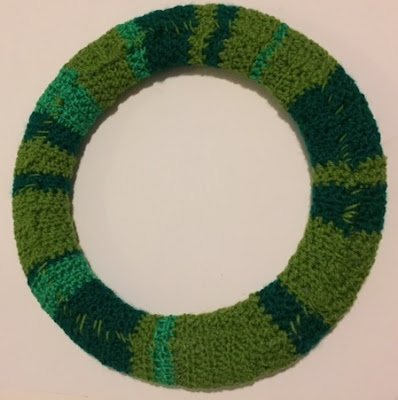
When my strip of crochet was finished I wrapped it around the wreath and sewed it up at the back, passing the needle through the wadding a little bit as well to make sure that it was firmly secured. I'm quite embarrassed to share a picture of the back of the wreath as it's so messy, but here it is! (I also went to quite a lot of trouble to sew 99% of the ends in before realising that I didn't really need to as they could also have just been tucked in and hidden!)
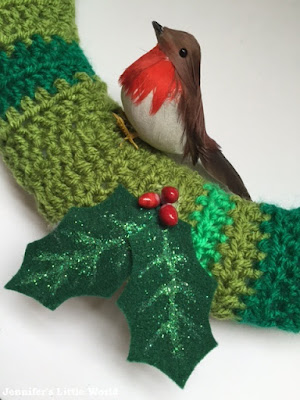
Then I added my accessories. The little robin has wires on it which I just poked through the crochet and wadding. I cut out some simple holly leaves from felt, and decorated them with a bit of green glitter, then I glued them in place along with some red fake holly berries. Finally I used some festive cord to create a hanging loop.
And here's the finished wreath, ready to hang! I'm not sure that I'm brave enough to put it on the outside of the front door though, I'd be too upset if it got wet or blew away!
Turtle Mats sent me a box of crafting materials and a voucher to purchase the extra bits for my wreath. Amazon links are affiliate.


That's fabulous, what a great job you did Jennifer. Mich x
ReplyDeleteThank you!
DeleteFantastic wreath! Xx
ReplyDeleteThank you!
Delete